I recently set about updating some of my .NET Framework projects to .NET Standard 2.0, as I wanted to support both the “old” .NET Framework, as well as .NET Core. In doing so I also wanted to push new NuGet packages of the .NET Standard version, so others can benefit from these projects as well.
As I’m using GitHub for my version control, I looked into whether I could get some sort of CI/CD going using GitHub. As it turned out this is perfectly possible using GitHub Actions.
I watched a couple of YouTube videos, looked at the some of the templates GitHub offers and through some trial and error I finally came up with a fully fledged automation flow. I configured it to ONLY run when I commit a new tag to GitHub, which I’m using as a version number.
The steps my flow runs through are as follows:
- Checkout the code
- Install an appropriate .NET compiler (I’m using .NET Core for this, as it’s easy to script and it’s supported by my .NET Standard project)
- Restore any NuGet packages my project needs
- Build my project
- Execute all units tests of my project
- Fetch the version number from the associated git tag
- Pack the project into a NuGet package with the version number just fetched
- Push the project to NuGet
That’s quite a few steps I no longer have to do manually, phew 🙂
In order to use GitHub Actions, you’ll need to create this folder structure in the root of your GitHub repository: .github/workflows
In this workflows folder, you create your Actions using YAML files. Each Action defines its own triggers, and as such you can have quite a few running depending on conditions. My NuGet deployment is configured to depending on a version tag being pushed.
Finally for the NuGet integration to work, you need an API key from NuGet. Thankfully this is very easy to do:
- Log into your NuGet account on nuget.org
- Click your name in the top-right corner and click “API Keys”
- Click “Create” and enter a name for your key, the rest of the settings are fine as default
- Click the “Create” button and make sure to copy your new API key, you only get to copy it this once.
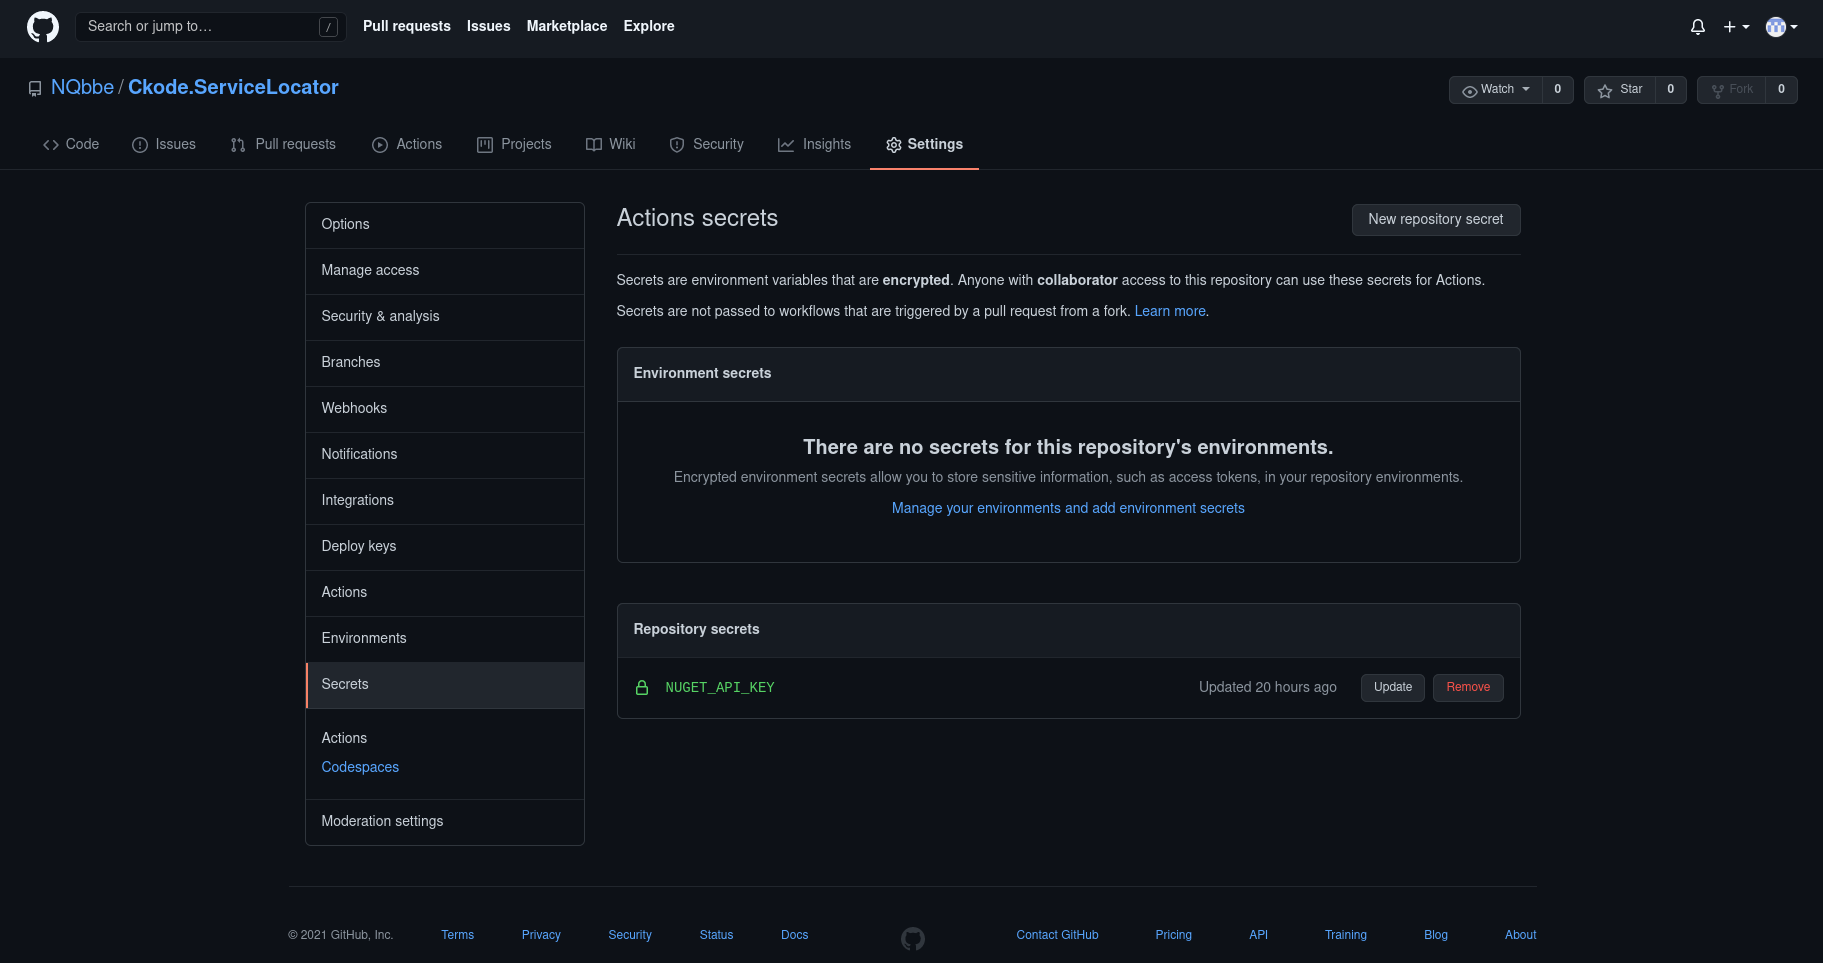
Now that you have the API key, you need to add it to your GitHub project. To do this simply open your project on GitHub and click “Settings” in the top bar. Under settings click “Secrets” and finally click the “New repository secret” button in the top-right of the view. Enter a name (I use NUGET_API_KEY) and paste your API key into the Value field and click “Add secret”, you’re done.
Now it’s finally time for the good stuff, here’s my complete YAML file for the automated flow. You’ll need to change 2 or 3 things in it:
- PROJECT_PATH should point to your csproj file
- SOLUTION_PATH should point to your sln file (this is used for running unit tests, as these shouldn’t reside in your primary project, but rather a separate testing project.
- secrets.NUGET_API_KEY if you named your secret differently in GitHub
Now create a file called e.g. “nuget.yml” in the workflows folder you created earlier, and paste the YAML below into it and adjust the parts mentioned above.
name: "Deploy to NuGet"

on:
  push:
    tags:
    - 'v*'

env:
  PROJECT_PATH: 'Source/Ckode.ServiceLocator/Ckode.ServiceLocator.csproj'
  SOLUTION_PATH: 'Source/Ckode.ServiceLocator.sln'
  PACKAGE_OUTPUT_DIRECTORY: ${{ github.workspace }}\output
  NUGET_SOURCE_URL: 'https://api.nuget.org/v3/index.json'

jobs:
  deploy:
    name: 'Deploy'
    runs-on: 'windows-latest'

    steps:
    - name: 'Checkout'
      uses: actions/checkout@v2

    - name: 'Install dotnet'
      uses: actions/setup-dotnet@v1
      with:
        dotnet-version: 5.0.x

    - name: 'Restore packages'
      run: dotnet restore ${{ env.PROJECT_PATH }}

    - name: 'Build project'
      run: dotnet build ${{ env.PROJECT_PATH }} --no-restore --configuration Release

    - name: Test
      run: dotnet test --no-build --verbosity normal ${{ env.SOLUTION_PATH }}

    - name: 'Get version'
      id: version
      uses: battila7/get-version-action@v2

    - name: 'Pack project'
      run: dotnet pack ${{ env.PROJECT_PATH }} --no-restore --no-build --configuration Release --include-symbols -p:SymbolPackageFormat=snupkg -p:PackageVersion=${{ steps.version.outputs.version-without-v }} --output ${{ env.PACKAGE_OUTPUT_DIRECTORY }}

    - name: 'Push package'
      run: dotnet nuget push ${{ env.PACKAGE_OUTPUT_DIRECTORY }}\*.nupkg -k ${{ secrets.NUGET_API_KEY }} -s ${{ env.NUGET_SOURCE_URL }}
To trigger the automation flow, simply commit your latest code to git, and push as follows:
git push
git tag v1.0.0
git push --tags
You should be able to see your automation flow trigger within seconds under the “Actions” tab in your GitHub account.